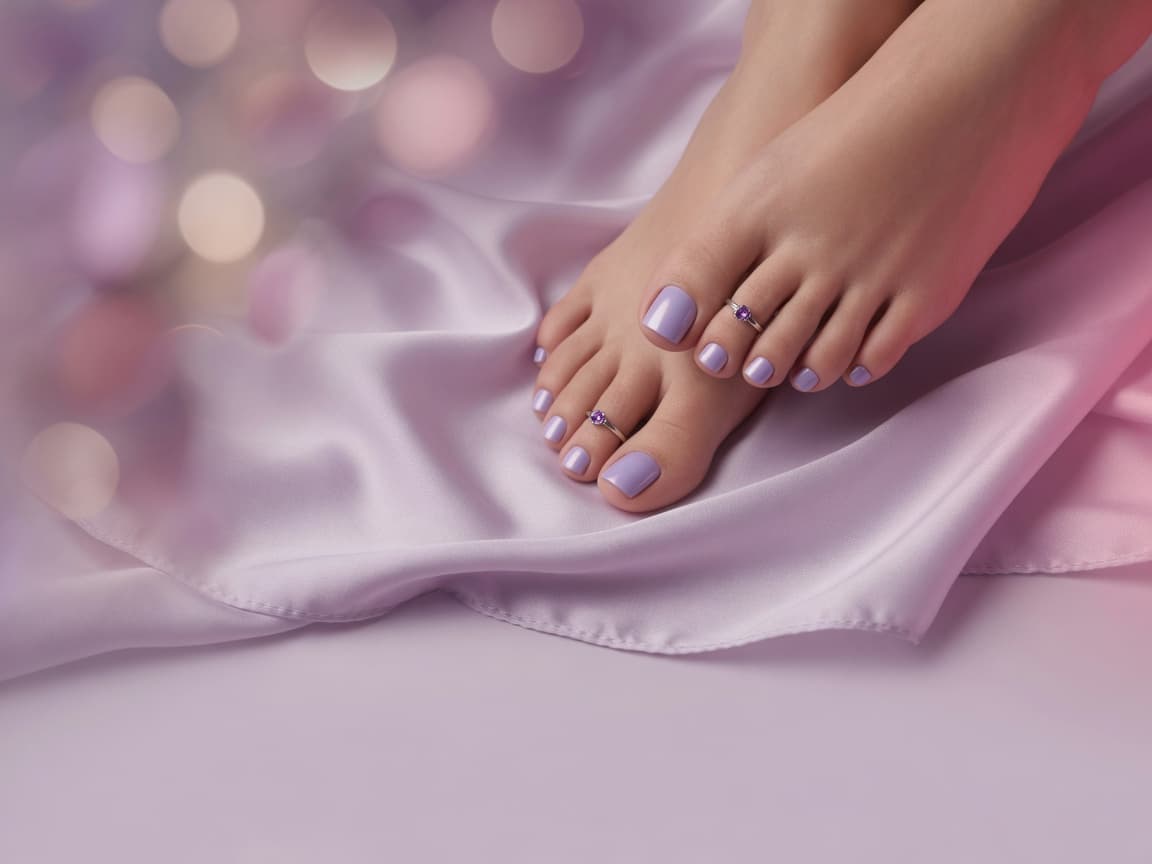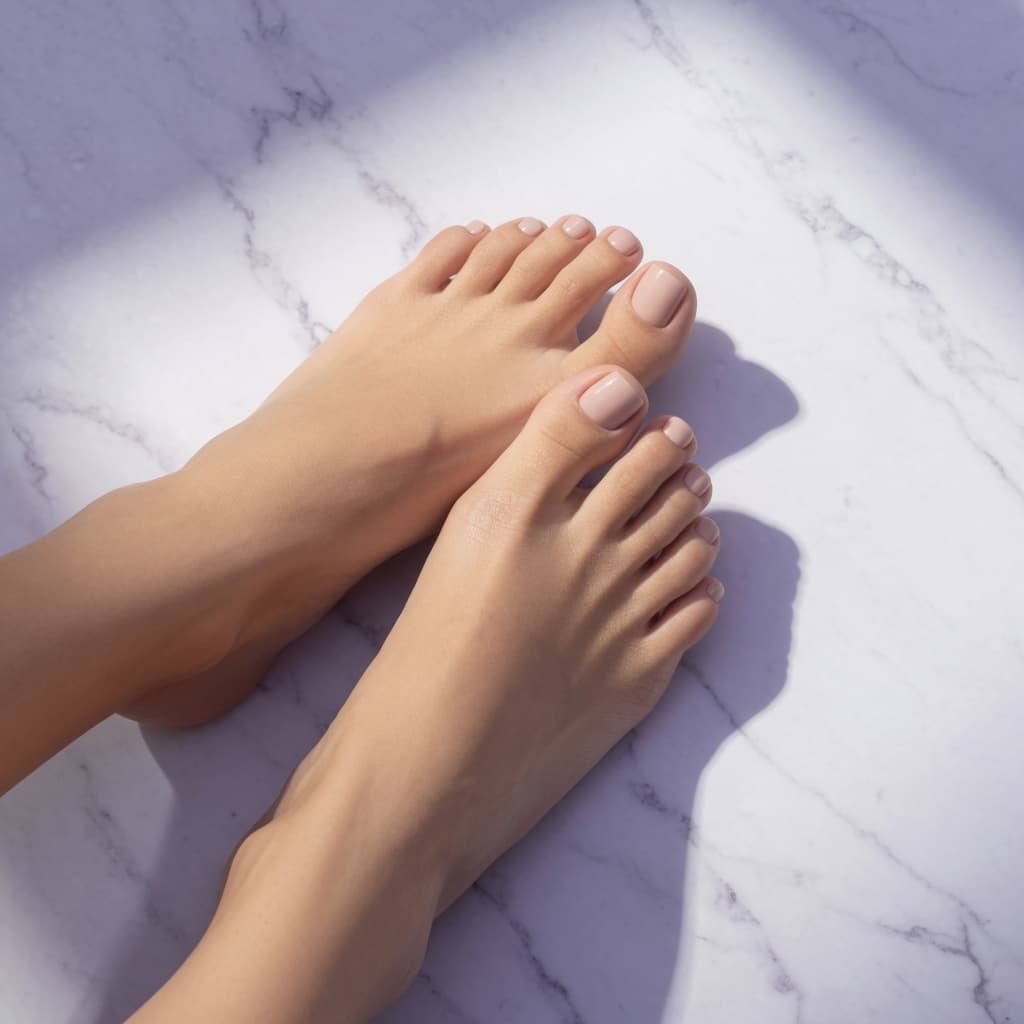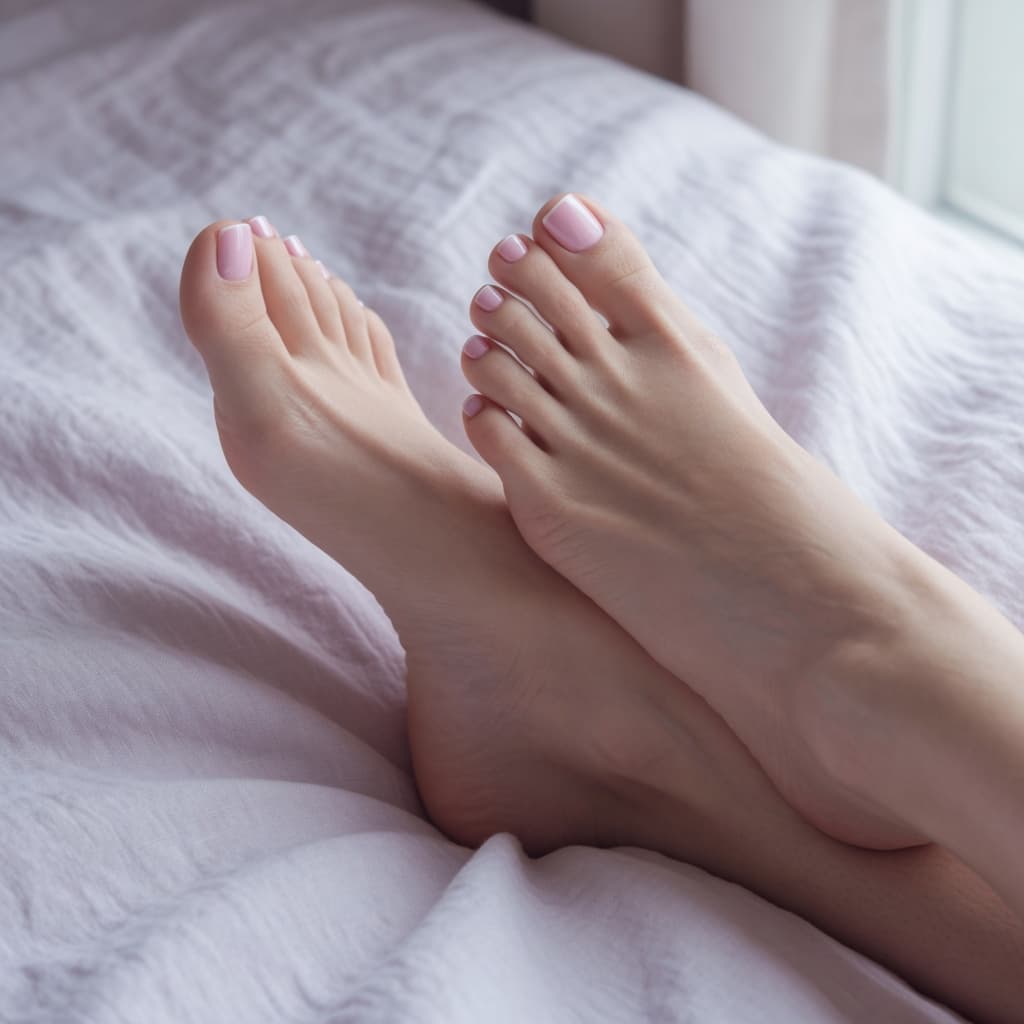
On This Page
- Prep Your Feet Before You Pick Up the Camera
- Lighting Is the Biggest Upgrade You Can Make
- Use Soft, Natural Window Light
- Avoid Flash and Harsh Overhead Bulbs
- Try Golden Hour or a Ring Light
- Angles and Poses That Flatter
- Backgrounds and Staging
- Camera Settings and Light Editing
- Phone Camera Tricks
- Edit Lightly and Keep It Natural
- Build Sets With Real Variety
- Common Mistakes to Avoid
- Final Thoughts
Two sellers can photograph the same pair of feet and end up with completely different results. One set looks dim, cluttered and blurry. The other looks bright, clean and polished. Buyers notice the difference instantly, and it often shows up in what sells and what doesn't.
The good news is that you don't need an expensive camera or a studio. A recent smartphone, a window and a little planning will take you a long way. In this guide, we walk through everything the Foot Love team recommends to adult (18+) beginners: prep, lighting, angles, backgrounds, editing and building sets with real variety. If you're brand new, our step-by-step guide on how to sell feet pics covers the bigger picture.
Prep Your Feet Before You Pick Up the Camera
Close-up photos show everything, so a few minutes of prep makes a visible difference. You don't need a professional pedicure every week, but your feet should look cared for.
- Wash and exfoliate. A warm soak followed by a gentle scrub or pumice stone smooths rough heels and dry patches.
- Moisturize, then wait. Apply lotion 20–30 minutes before shooting so it can absorb. Wet, shiny lotion tends to look greasy on camera.
- Trim and file your nails. Clean, even nails look tidy whether you wear polish or not.
- Check your polish. Chipped polish is one of the quickest ways to make a photo look careless. Touch it up or remove it completely.
- Watch for marks. Tight socks and shoes leave indentations. If you can, go barefoot for an hour or so before a shoot.
Lighting Is the Biggest Upgrade You Can Make
If you only change one thing about your photos, change the lighting. Good light shows true skin tone, softens texture and makes colors look rich instead of muddy.
Use Soft, Natural Window Light
Set up near a large window during the day, with your feet facing the light or angled slightly toward it. Indirect daylight is the most flattering option for most people. If the sun is shining straight in and creating hard shadows, hang a thin white curtain or sheet to diffuse it.
Avoid Flash and Harsh Overhead Bulbs
Your phone's built-in flash flattens everything and creates glare on skin and polish. Ceiling lights cast unflattering shadows from above and often add a yellow or green tint. Switch them off when you can and let the window do the work.
Try Golden Hour or a Ring Light
The hour after sunrise and the hour before sunset give warm, gentle light that's great for outdoor or balcony shots. For evening shoots, an affordable ring light or LED panel with adjustable color temperature gives you consistent results. Bounce it off a white wall or ceiling for an even softer look.
Angles and Poses That Flatter
Feet can look very different depending on where the camera is. Experiment freely, then keep notes on what works so you can repeat it next time.
- Soles toward the camera: Shoot at the same height as your feet rather than from above to avoid distortion.
- Top-down view: Point your toes slightly and shoot from just above to show the shape of your toes and the top of the foot.
- Side profile: A side angle shows off your arch. Try both pointing and gently flexing to see which looks better.
- Crossed ankles or stacked feet: A relaxed pose adds a natural, lifestyle feel to a set.
- Toes spread or curled: Small changes in toe position add variety without changing your whole setup.
Use your phone's self-timer or a small tripod with a Bluetooth remote. Both free your hands so you can focus on posing, and they keep the camera steady, which is the fastest route to sharper photos.
Backgrounds and Staging
The background should support your feet, not compete with them. Clean, simple surfaces look more professional and keep attention where buyers want it.
- Plain bedsheets, a neutral throw blanket or a soft rug
- Wooden floors, marble or tile, or a clean white wall
- Outdoor textures such as sand, grass or a smooth stone step
Clear away clutter, laundry, pet hair and anything personal. Backgrounds matter for privacy, too: mail, framed photos, mirrors and windows with recognizable views can reveal far more about you than you intend. Our guide to selling feet pics anonymously has a full checklist of what to look for before you upload.
Camera Settings and Light Editing
You don't need to understand photography jargon to get sharp, natural-looking results. A few phone habits and a light editing routine cover most of what matters.
Phone Camera Tricks
- Clean your lens. A smudged lens is the hidden cause of many hazy photos.
- Tap to focus. Tap on your toes or arch so the phone knows what matters, then slide the brightness control down a touch if your skin looks washed out.
- Skip digital zoom. Move the phone closer instead, since digital zoom reduces image quality.
- Use the rear camera. On most phones, the main rear camera is noticeably better than the selfie camera.
- Shoot more than you need. Take several frames of every pose and choose the sharpest one later.
- Use portrait mode carefully. It can blur the background nicely, but check the edges of your toes for odd smudging.
Edit Lightly and Keep It Natural
Editing should polish a good photo, not rescue a bad one. Buyers generally prefer natural-looking images, and heavy filters can make skin look plastic or shift your skin tone in a way that feels misleading.
- Crop and straighten so the composition feels intentional.
- Nudge brightness and contrast slightly.
- Correct the white balance so whites look white, not yellow or blue.
- Remove small distractions, like a speck of lint, with a spot-healing tool.
- Stop there. If an edit is obvious, it's probably too much.
Your phone's built-in editor is usually enough. Keep an unedited original of every photo saved privately in case you want to re-edit later.
Once you have a handful of clean, well-lit shots, it makes sense to put them where serious buyers are already looking. When you're ready, you can create a free seller profile on a verified platform that checks both buyers and sellers.
Build Sets With Real Variety
Buyers often prefer sets over single photos because a set tells a small story. A strong set has a consistent look (same lighting, same polish, same setting) but changes the angle and pose from shot to shot.
- Mix wider shots with close-ups of toes, arches and soles.
- Include at least one relaxed, lifestyle-style image alongside the posed shots.
- Rotate themes over time: new polish colors, different rooms, seasonal props.
- Give each set a simple, descriptive name so buyers know exactly what they're getting.
Need inspiration? Our list of 25 feet pic ideas is packed with themes you can shoot this week.
Common Mistakes to Avoid
- Uploading blurry or dark photos because they seemed close enough
- Chipped polish, visible dirt or lotion residue
- Cluttered or identifying backgrounds
- Over-filtered images that no longer look like real skin
- Posting near-identical photos instead of a varied set
Final Thoughts
Great feet pics come down to consistency: prepared feet, soft light, steady angles, clean backgrounds and a light touch with editing. Practice with one setup until it feels easy, then branch out. Remember that selling feet pics is for adults 18 and over only, and your content should always stay tasteful and within your platform's rules.
When your first sets are ready, start selling on a verified platform that protects your privacy and handles payments for you. And for the full roadmap from setup to first sale, revisit our guide on how to sell feet pics.
Frequently Asked Questions
Soft, indirect daylight from a window is the most flattering and easiest option for most beginners. For evening shoots, a ring light or LED panel with adjustable color temperature gives consistent results.
Yes. A recent smartphone is enough for most sellers. The bigger factors are clean light, a steady camera and well-prepared feet.
There's no single best angle, so it pays to experiment. Soles shot at foot level, a slightly raised top-down view and a side profile of the arch are reliable starting points.
Light edits such as cropping, brightness and white balance can help a lot. Heavy filters usually hurt, because buyers tend to prefer images that look natural and true to life.